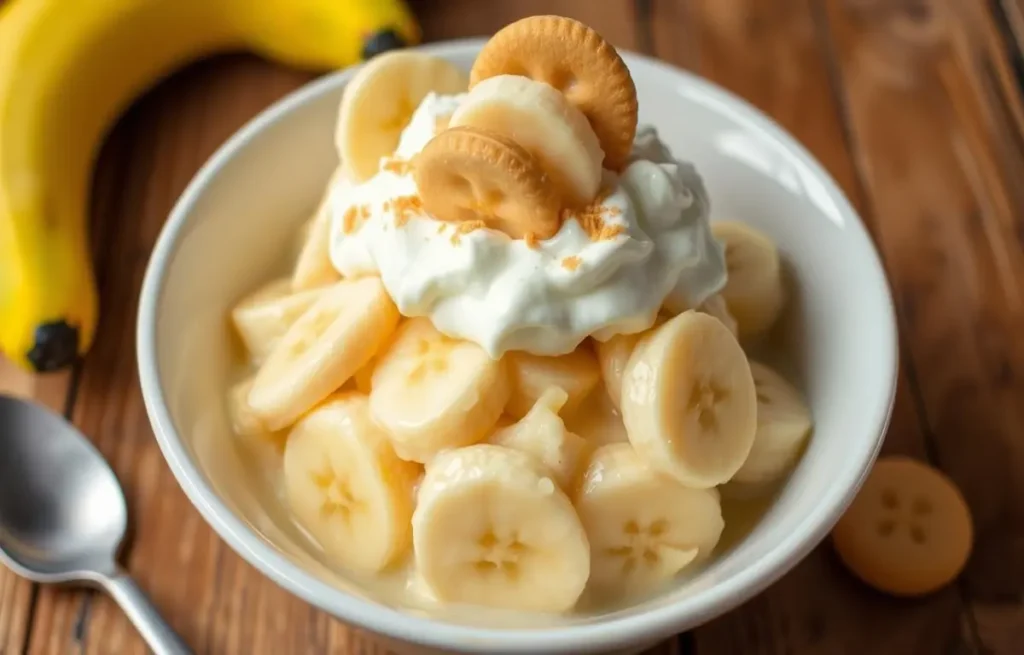
Indulge in the rich, creamy goodness of a classic Southern dessert – easy banana pudding. This timeless recipe captures the essence of homemade comfort. It blends ripe bananas, sweet vanilla pudding, and crisp vanilla wafers into a heavenly treat. It’s sure to delight your taste buds.
Whether you’re a seasoned baker or a novice in the kitchen, this straightforward recipe will guide you. You’ll create a banana pudding masterpiece that your family and friends will savor.
In this comprehensive guide, you’ll discover the origins of this beloved dessert. You’ll learn about the essential ingredients and tools needed. And you’ll follow our easy step-by-step instructions to craft the perfect banana pudding.
Get ready to embark on a delicious journey. Elevate your dessert game with this old-fashioned Southern classic.

Key Takeaways
- Explore the rich history and tradition of Southern banana pudding
- Understand the key ingredients that make this dessert a standout
- Discover the essential kitchen tools and equipment needed for perfect results
- Follow a simple, step-by-step guide to crafting the ultimate banana pudding
- Learn tips and tricks for selecting and preparing the perfect bananas
- Master the art of layering and creating the perfect banana pudding stack
- Uncover storage and make-ahead options to enjoy this classic dessert whenever the craving strikes
Discovering the Magic of Southern Banana Pudding
Banana pudding is a favorite dessert in the American South. It has a rich history and cultural significance. This treat has comforted families for generations.
Origins of This Beloved Dessert
The story of southern banana pudding starts in the early 20th century. As bananas became more common, cooks created the classic banana pudding we love today.
Why It Remains a Family Favorite
Southern banana pudding brings back memories of childhood and family gatherings. It’s a staple at celebrations and holiday tables. It brings families together with its creamy, sweet goodness.
“Banana pudding is more than just a dessert; it’s a tradition, a taste of home, and a testament to the power of simple, comforting flavors that bring people together.”
Banana pudding is a family favorite that shows Southern hospitality. It’s a joy to share with loved ones.
Essential Ingredients for Perfect Banana Pudding
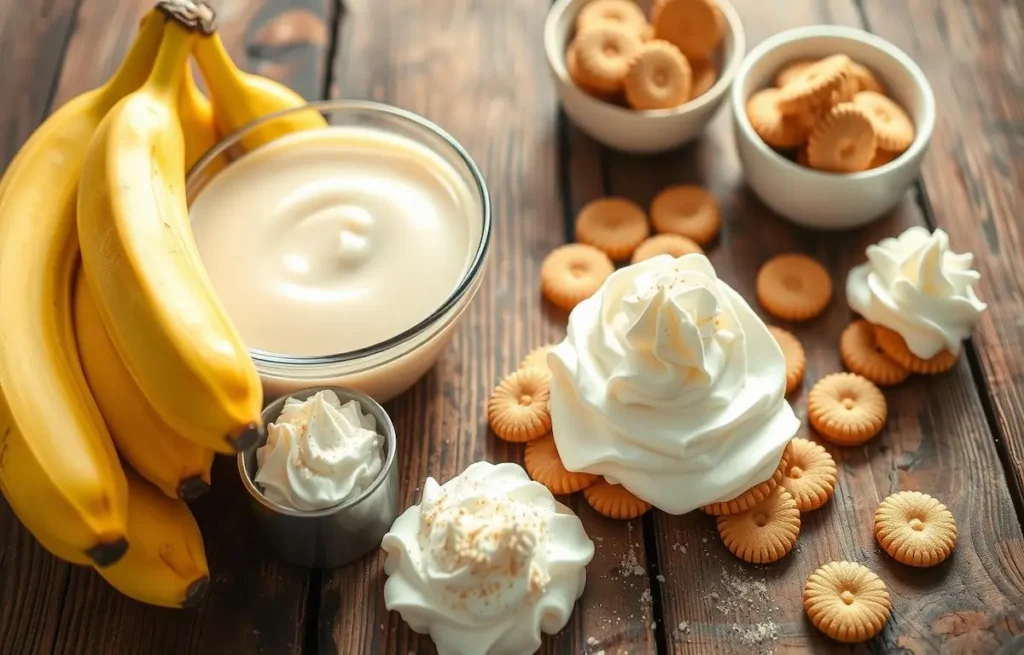
Making the perfect banana pudding needs the right mix of ingredients. You’ll need classic vanilla wafers and fresh bananas. Each part is important for a creamy, flavorful dessert.
Here are the key elements of this Southern favorite:
- Vanilla wafers – These crunchy, buttery cookies are the base of the pudding.
- Fresh bananas – Ripe bananas add natural sweetness and a creamy texture.
- Vanilla pudding – This creamy custard holds the layers together, making it creamy.
- Sweetened condensed milk – It adds a rich, velvety texture and flavor.
- Eggs – They thicken the pudding and make it smooth.
- Milk – It’s the liquid base that helps the pudding set right.
- Vanilla extract – It boosts the vanilla flavor in the dessert.
With these ingredients, you’re ready to make a delicious banana pudding. It’s sure to impress your guests.

| Ingredient | Purpose | Quality Considerations |
|---|---|---|
| Vanilla Wafers | Provide the base and texture | Look for fresh, crisp wafers with a pronounced vanilla flavor |
| Fresh Bananas | Lend sweetness and creaminess | Choose ripe, spotty bananas for maximum flavor and texture |
| Vanilla Pudding | Bind the layers and create the signature creaminess | Opt for a high-quality, homemade or premium store-bought pudding |
| Sweetened Condensed Milk | Contribute to the rich, velvety texture | Select a reputable brand for optimal flavor and consistency |
| Eggs | Thicken the pudding and provide a silky mouthfeel | Use fresh, high-quality eggs for best results |
| Milk | Provide the liquid base for the pudding | Choose whole milk for a richer, creamier texture |
| Vanilla Extract | Enhance the overall vanilla flavor profile | Opt for a pure, high-quality vanilla extract for maximum impact |
Kitchen Tools and Equipment You’ll Need
To make the perfect banana pudding, you need more than just the right ingredients. You also need the right tools and equipment. This ensures your pudding is smooth, creamy, and looks great. Let’s look at the essential kitchen equipment for this Southern classic.
Basic Utensils Required
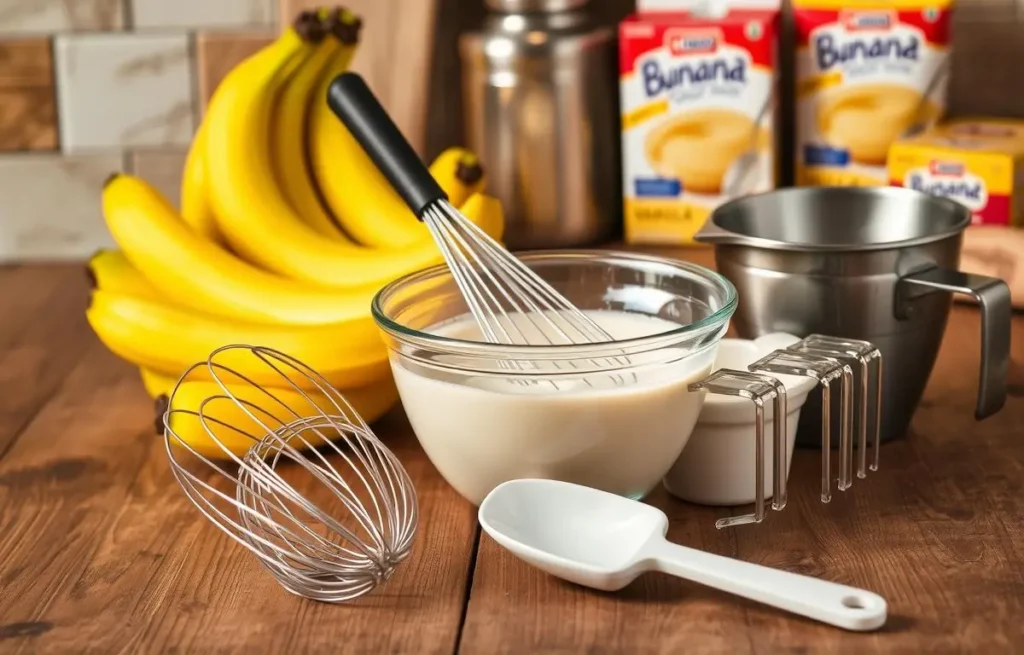
First, you’ll need these banana pudding tools to start:
- A medium-sized mixing bowl for preparing the pudding
- A whisk for blending the pudding ingredients
- A spatula or spoon for layering the pudding and assembling the dish
- A sharp knife for slicing the bananas
- A cutting board for prepping the bananas
- A baking dish or serving bowl to assemble the final banana pudding
Optional Equipment for Professional Results
While basic utensils work, some optional kitchen equipment can make your pudding even better. They help achieve that creamy, layered texture and look:
- A stand mixer or hand mixer for whipping the pudding and cream to the perfect consistency
- A piping bag and tips for decorative topping or layering the pudding
- A kitchen torch for caramelizing the meringue or crumbled wafer topping
- A food processor for crushing the vanilla wafers for a smooth, even texture
| Equipment | Purpose |
|---|---|
| Mixing bowl | Preparing the pudding mixture |
| Whisk | Blending the pudding ingredients |
| Spatula | Layering the pudding and assembling the dish |
| Sharp knife | Slicing the bananas |
| Cutting board | Prepping the bananas |
| Baking dish | Assembling the final banana pudding |
| Stand mixer | Whipping the pudding and cream |
| Piping bag | Decorative layering and topping |
| Kitchen torch | Caramelizing the meringue or wafer topping |
| Food processor | Crushing the vanilla wafers |
With the right banana pudding tools and kitchen equipment, you’re ready to make a classic Southern dessert. It’s sure to impress everyone.

Easy Banana Pudding Recipe: Step-by-Step Guide
Indulge in the classic Southern delight of easy banana pudding with this detailed, step-by-step guide. Follow these simple instructions to create a creamy, decadent dessert. It will have your family and friends raving.
- Gather all the necessary ingredients: ripe bananas, vanilla pudding mix, milk, whipped cream, and vanilla wafers.
- Follow the package instructions to prepare the vanilla pudding, using milk as directed. Allow the pudding to cool completely.
- Slice the ripe bananas into thin, even rounds.
- Place a layer of vanilla wafers at the bottom of a large serving dish.
- Top the wafers with a layer of sliced bananas, then spoon a generous amount of the cooled vanilla pudding over the top.
- Repeat the layers of wafers, bananas, and pudding until you’ve used up all the ingredients, ending with a layer of pudding.
- Refrigerate the banana pudding for at least 2 hours, or until the flavors have had a chance to meld.
- Just before serving, top the pudding with a layer of whipped cream for a finishing touch.
Enjoy your homemade, easy banana pudding – a timeless Southern classic that’s sure to delight your taste buds.

Selecting and Preparing the Perfect Bananas
Choosing the right bananas is key for a delicious banana pudding. They should be ripe yet still firm. Let’s look at how to pick and slice bananas for the best dessert.
Ripeness Guide
The best banana for pudding is ripe but still firm. Choose bananas with a vibrant yellow peel and a few brown speckles. Stay away from green or brown, mushy bananas. They won’t mix well with the pudding.
The right banana will add sweetness and texture to your dessert.
Proper Slicing Techniques
After picking your bananas, it’s time to slice them. Use a sharp knife and be gentle. Slice the bananas on a clean surface, making 1/2-inch thick rounds. This way, each bite will have the right mix of banana and pudding.
| Banana Selection | Slicing Techniques |
|---|---|
| Look for bright yellow bananas with a few brown speckles Avoid entirely green or brown, mushy bananas Ripe, yet firm bananas will provide the perfect texture | Use a sharp knife for clean, uniform slices Slice bananas into 1/2-inch thick rounds Cut on a clean, flat surface for best results |
By following these tips for banana selection and slicing bananas, you’ll make a banana pudding that everyone will love.
Mastering the Vanilla Pudding Layer
Creating the perfect vanilla pudding layer is key for a classic Southern banana pudding. You can make it from scratch or use instant pudding mix. Either way, it will make your dessert amazing.
Homemade Vanilla Pudding
Making your vanilla pudding from scratch is a treat. It lets you pick the ingredients for a rich, pure flavor. Here’s how to make homemade vanilla pudding:
- In a saucepan, whisk together sugar, cornstarch, and a pinch of salt.
- Gradually stir in milk, ensuring there are no lumps.
- Cook over medium heat, stirring constantly, until the mixture thickens and comes to a gentle boil.
- Remove from heat and stir in vanilla extract.
- Allow the pudding to cool slightly before assembling your banana pudding.
Instant Vanilla Pudding
For a quicker option, use an instant vanilla pudding mix. It’s easy and still tastes great. Just follow the package instructions to get the right consistency.
| Homemade Vanilla Pudding | Instant Vanilla Pudding |
|---|---|
| Allows for complete control over ingredients and flavor | Offers a convenient, time-saving option |
| Requires more hands-on preparation | Requires minimal effort |
| Delivers a richer, creamier texture | Provides a quick, consistent result |
Whether you make it from scratch or use instant mix, the goal is to get it just right. You want it sweet and thick enough to match the bananas and wafers.
The Art of Layering Your Banana Pudding
Making the perfect banana wafer pudding is all about layering. This classic Southern dessert combines creamy vanilla pudding, ripe bananas, and crisp wafers. Let’s dive into the techniques for creating the ultimate layering dessert.
Creating the Perfect Stack
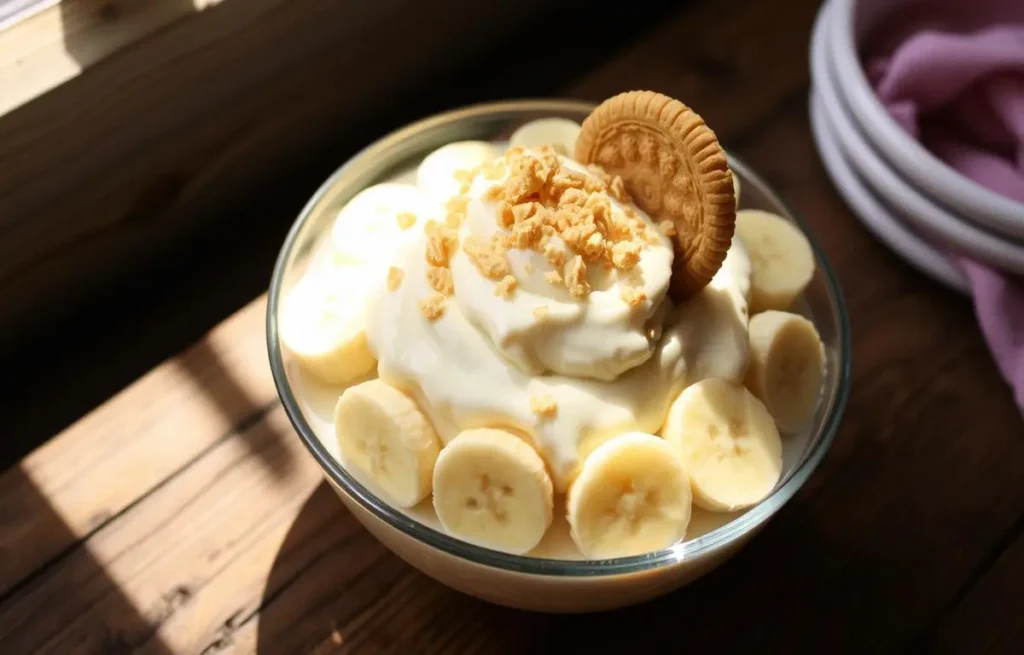
The secret to a stunning banana wafer pudding is in the layering. Start with a thin layer of vanilla pudding at the bottom. Then, add a layer of sliced bananas, making sure they’re even.
Next, place a layer of vanilla wafers over the bananas. Repeat this process, alternating between pudding, bananas, and wafers. Finish with a layer of pudding on top for a smooth finish.
Wafer Placement Tips
- Place the vanilla wafers tightly to avoid gaps and ensure a uniform look.
- Stand the wafers on their sides for a decorative “fence” around the dish.
- Press the wafers gently into the pudding to help them stick together.
| Layering Technique | Benefits |
|---|---|
| Tight, even wafer placement | Prevents gaps and creates a neat, polished look |
| Vertical wafer “fence” | Adds visual interest and a decorative element |
| Pressing wafers into pudding | Helps bind the layers and maintain the structure |
By using these layering techniques, you’ll make a banana wafer pudding that’s not just tasty but also beautiful.
Storage Tips and Make-Ahead Options
Keeping your homemade banana pudding fresh is all about proper storage. Once you’ve put it together, cover it tightly with plastic wrap or foil. Press the wrap or foil right onto the pudding’s surface to avoid a skin from forming. Refrigerate it for up to 3 days. This lets the flavors mix and the wafers get soft.
For easier prep, you can make parts of the banana pudding ahead of time. Prepare the vanilla pudding a day or two before and keep it in the fridge in an airtight container. Slice the bananas just before you’re ready to assemble the dessert to prevent them from browning. The Nilla Wafers can stay at room temperature until you’re ready to layer them. When it’s time, just put everything together and chill it until you’re ready to enjoy.
By using these storage and make-ahead tips, you can enjoy your banana pudding with less last-minute fuss. Whether you’re hosting a party or just want a comforting dessert, these strategies ensure you get the perfect mix of creamy pudding, sweet bananas, and crunchy wafers whenever you want.
FAQ
What’s the secret to mastering the perfect banana pudding?
To make the perfect banana pudding, use fresh, ripe bananas and homemade vanilla pudding. It’s important to layer the ingredients right and chill the dessert well.
Can I use instant pudding mix instead of making my own?
Yes, instant pudding mix is a quick option. But, homemade vanilla pudding gives a richer, creamier taste and a more authentic flavor.
How do I ensure the bananas don’t turn brown?
To keep bananas from turning brown, toss the sliced bananas with lemon or orange juice. This keeps their color bright and fresh.
Can I make banana pudding ahead of time?
Absolutely! Banana pudding is perfect for making ahead. Assemble it, cover it, and chill for up to 3 days. The flavors will blend, and the wafers will soften for the best texture.
How long does banana pudding last?
Banana pudding remains fresh in the refrigerator for 3 to 4 days. Make sure to cover it tightly to keep it moist and prevent bananas from browning.
Can I use a different type of wafer or cookie?
You can try different cookies or wafers, like graham crackers or shortbread, in banana pudding. But, remember, it might change the flavor and texture a bit.
Do I have to use fresh bananas, or can I use canned or frozen?
For the best taste and texture, use fresh, ripe bananas. Canned or frozen bananas might make the pudding mushier and less vibrant.
Can I add any additional toppings or mix-ins?
Absolutely! You can add whipped cream, crushed cookies, chopped nuts, or a drizzle of caramel or chocolate sauce to your banana pudding. Get creative!

